Couple of weeks ago, I salvage an Octane, for my disappointment the PSU was behaving what everyone calls the click of dead. So, I post couple of messages on this forum and decided to take it on myself to try to fix it.... After fixing the SGI Fuel PSU (Sparkle Power Int Model FSP460-60PFN - Look at my other post), I was up for the challenge.
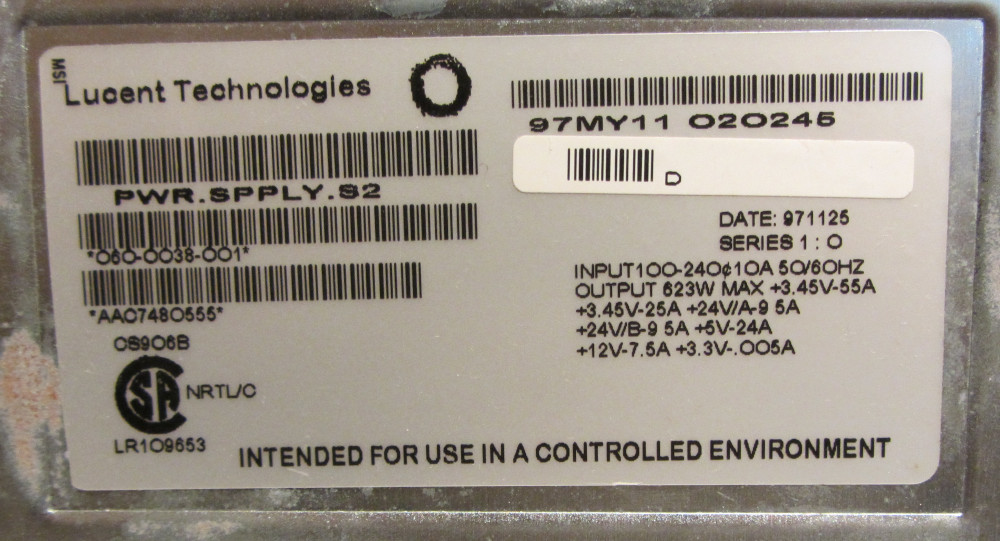
This is for The LUCENT TECHNOLOGIES 060-0028-003 623W
First, disassembly: (Sorry forgot to take pictures)
NOTE: You will be dealing with high voltage components, High Voltage Capacitors can hold charge, I cannot be responsible, do this at your own risk
The Unit is based on 3 different PCB units’ stock together on the metal enclosure. This is not rocket science. You keep track of the screws
Top PCB is hold by 4 screws. There is a cable that connect the top PCB with the middle one, easy to remove. The white external plug is easy to use a pair of needle pliers to push the connectors (don't unplug it from the PCB).
Disconnect the Power Cable input connector from the second board (Mark or label where the cables go, color base, easy) and remove it from the enclosure. Is hold by 2 screws. This will make easy the removal of the second PCB. Remove the connector that connect the secondary board to the third lower PCB and remove the board.
The last PCB is hold by 4 screws. Disconnect the Fan cable and is easy to feed it between the heatsink. You will have to push in another of the white external plug the same way you did on the first board, don't try to disconnect it from the PCB
Second - Recap:
List of Capacitor from Mouser.com
Mouser # QTY
Replace All Capacitors in all 3 PCB. Note: theirs is one capacitor on the little AC/DC Control board in the secondary or middle PCB
Photo 1 - Bottom or third PCB board Recapped

Photo 2 - Middle or Second PCB board Recapped

Sorry, lost or forgot to take picture of the Top or first PCB board
After assembly and testing, no luck.... So removed this time the top board only, but left everything connected to the other boards of the PSU. I plug in the power, and I was able to verify that the click and bussing sound was coming from the secondary or middle PCB. Specific to one area.

So let start testing components. So I remove the AC/DC Control board and the complete top heatsink with all the MOSFET Transistors and components (You need to disorder all the components, this big heatsink has to be pull in one piece. After testing with a multimeter, found two parts that I was not happy with the results.

So, decided to get replacement parts from Mouser:
After Assembly, I can tell you that the Octane is Back online!
I had to do the LED MOD to the Light Bard!
Hope this help all you guys that are trying to keep this unit alive!
This is for The LUCENT TECHNOLOGIES 060-0028-003 623W
First, disassembly: (Sorry forgot to take pictures)
NOTE: You will be dealing with high voltage components, High Voltage Capacitors can hold charge, I cannot be responsible, do this at your own risk
The Unit is based on 3 different PCB units’ stock together on the metal enclosure. This is not rocket science. You keep track of the screws
Top PCB is hold by 4 screws. There is a cable that connect the top PCB with the middle one, easy to remove. The white external plug is easy to use a pair of needle pliers to push the connectors (don't unplug it from the PCB).
Disconnect the Power Cable input connector from the second board (Mark or label where the cables go, color base, easy) and remove it from the enclosure. Is hold by 2 screws. This will make easy the removal of the second PCB. Remove the connector that connect the secondary board to the third lower PCB and remove the board.
The last PCB is hold by 4 screws. Disconnect the Fan cable and is easy to feed it between the heatsink. You will have to push in another of the white external plug the same way you did on the first board, don't try to disconnect it from the PCB
Second - Recap:
List of Capacitor from Mouser.com
Mouser # QTY
| 75-517D476M025JA6AE3 | 6 |
| 710-861221484008 | 6 |
| 667-EEU-FC0J682S | 6 |
| 647-UPV1H4R7MFD1TD | 1 |
| 647-UVK1E101MDD | 2 |
| 667-EEU-FM1V681B | 1 |
| 647-UPJ1V102MHD6 | 9 |
| 647-UPM1V222MHD1AA | 2 |
| 647-UBW1V221MPD1TD | 1 |
| 667-EEU-EB1J100S | 2 |
Photo 1 - Bottom or third PCB board Recapped
Photo 2 - Middle or Second PCB board Recapped
Sorry, lost or forgot to take picture of the Top or first PCB board
After assembly and testing, no luck.... So removed this time the top board only, but left everything connected to the other boards of the PSU. I plug in the power, and I was able to verify that the click and bussing sound was coming from the secondary or middle PCB. Specific to one area.
So let start testing components. So I remove the AC/DC Control board and the complete top heatsink with all the MOSFET Transistors and components (You need to disorder all the components, this big heatsink has to be pull in one piece. After testing with a multimeter, found two parts that I was not happy with the results.
- TOP292YAI - AC/DC Converters
- 67F095 - Thermostats
So, decided to get replacement parts from Mouser:
- For the 67F095 - Mouser Part# 874-67F095 (Same part still available)
- For the TOP292YAI AC/DC Converter - Mouser Part# 869-TOP223YN (This has a little difference, the original is spec was 60W100/115/230 VAC, the new one is 50W100/115/230 VAC)
After Assembly, I can tell you that the Octane is Back online!
I had to do the LED MOD to the Light Bard!
Hope this help all you guys that are trying to keep this unit alive!
Last edited: